Watch it
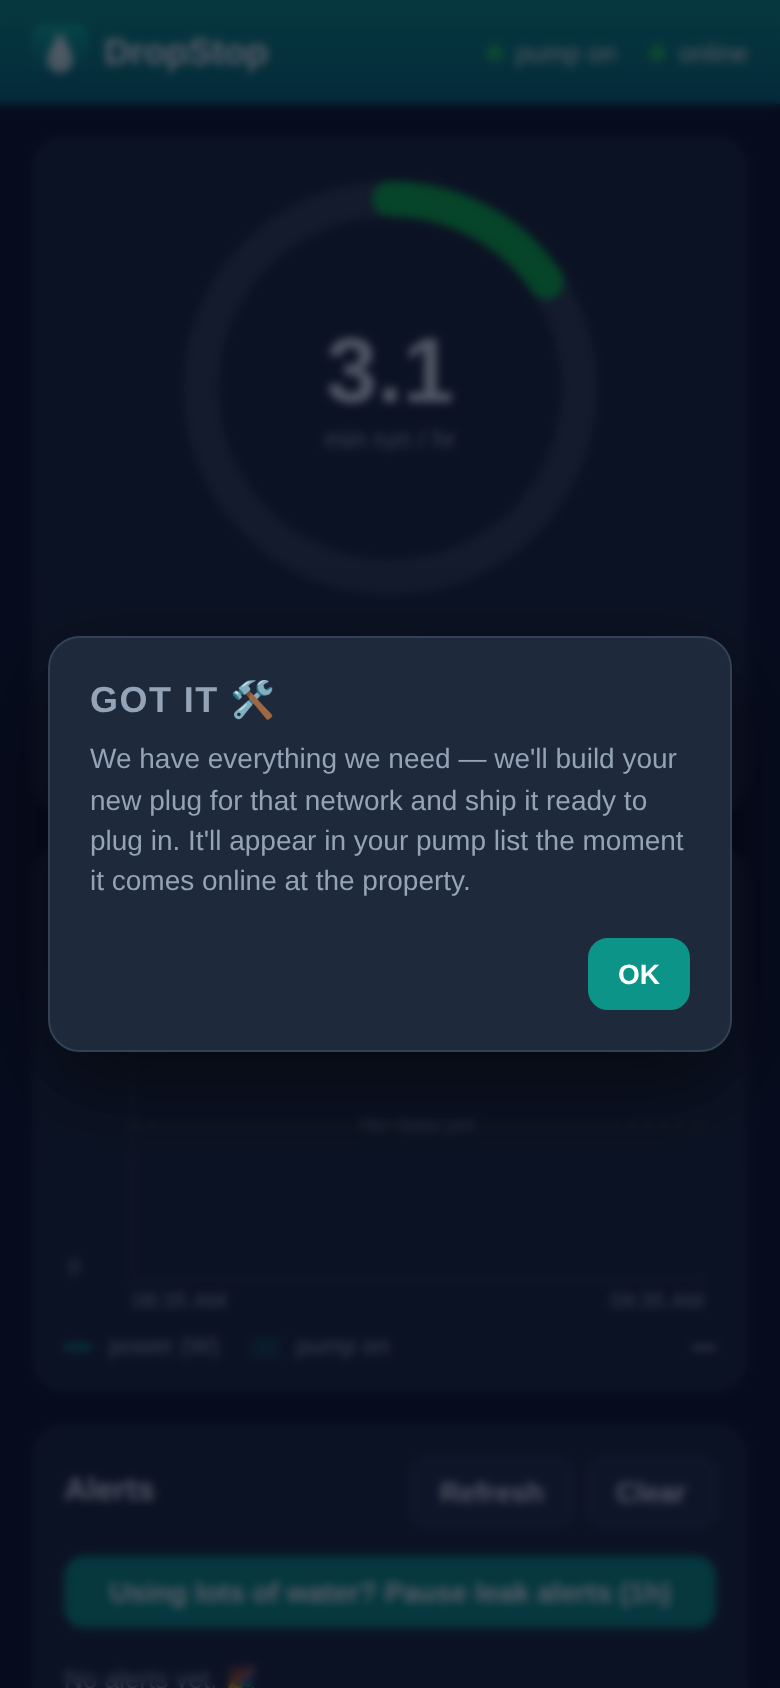
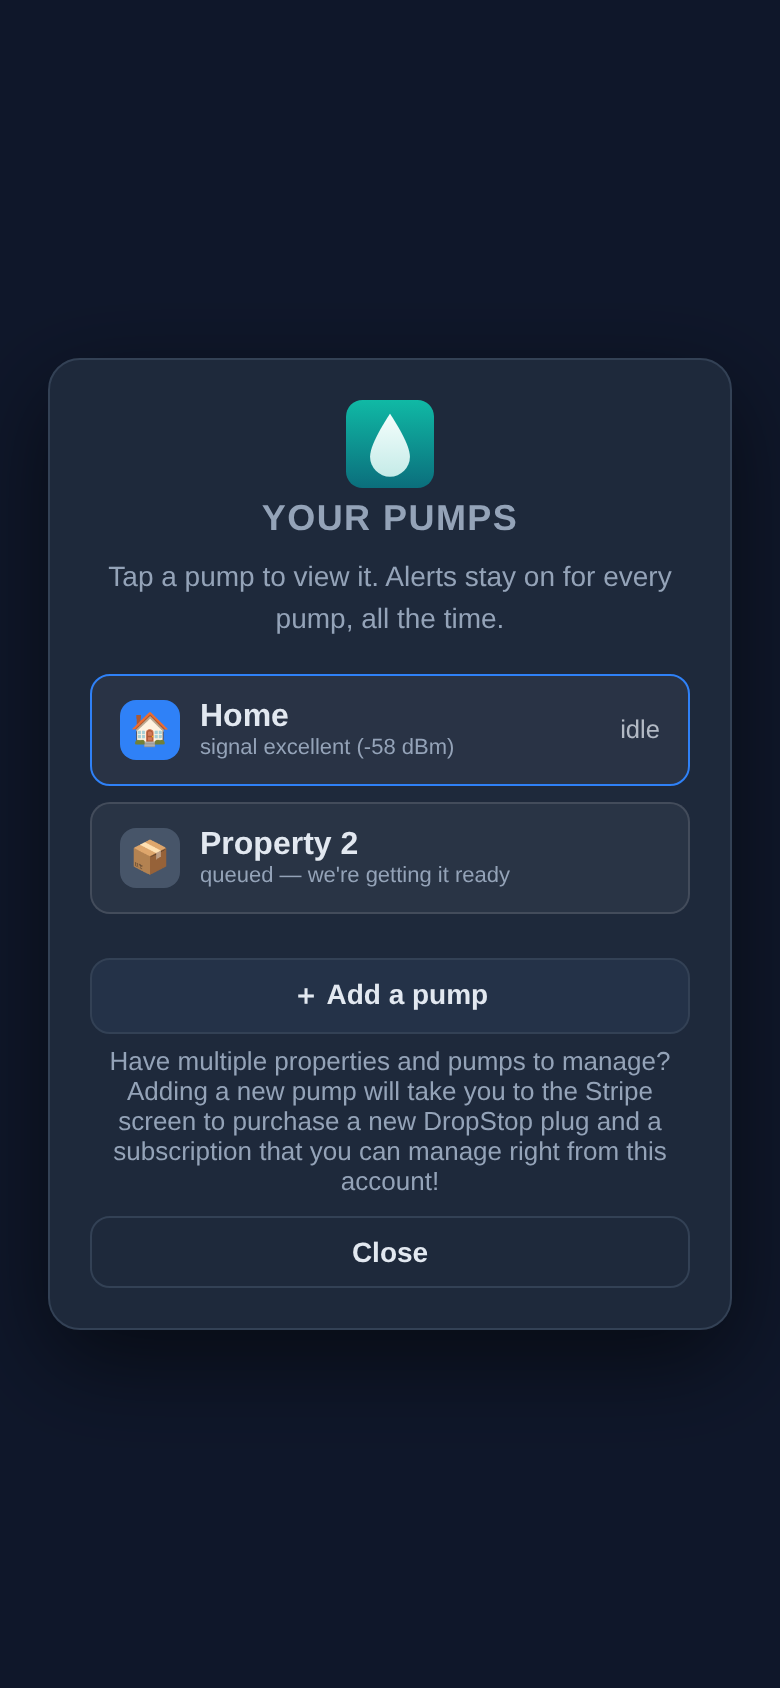
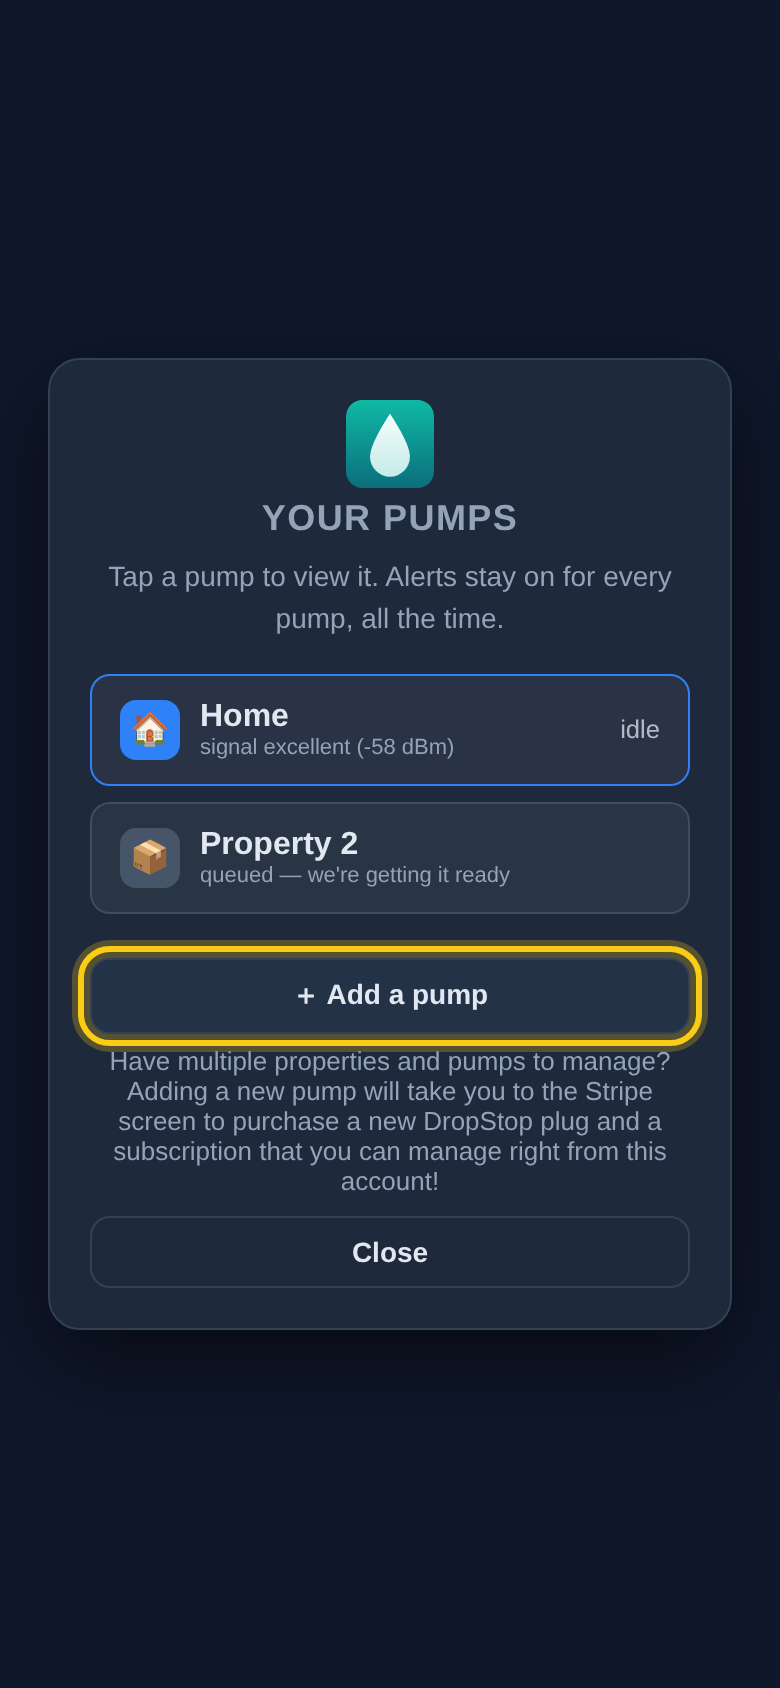
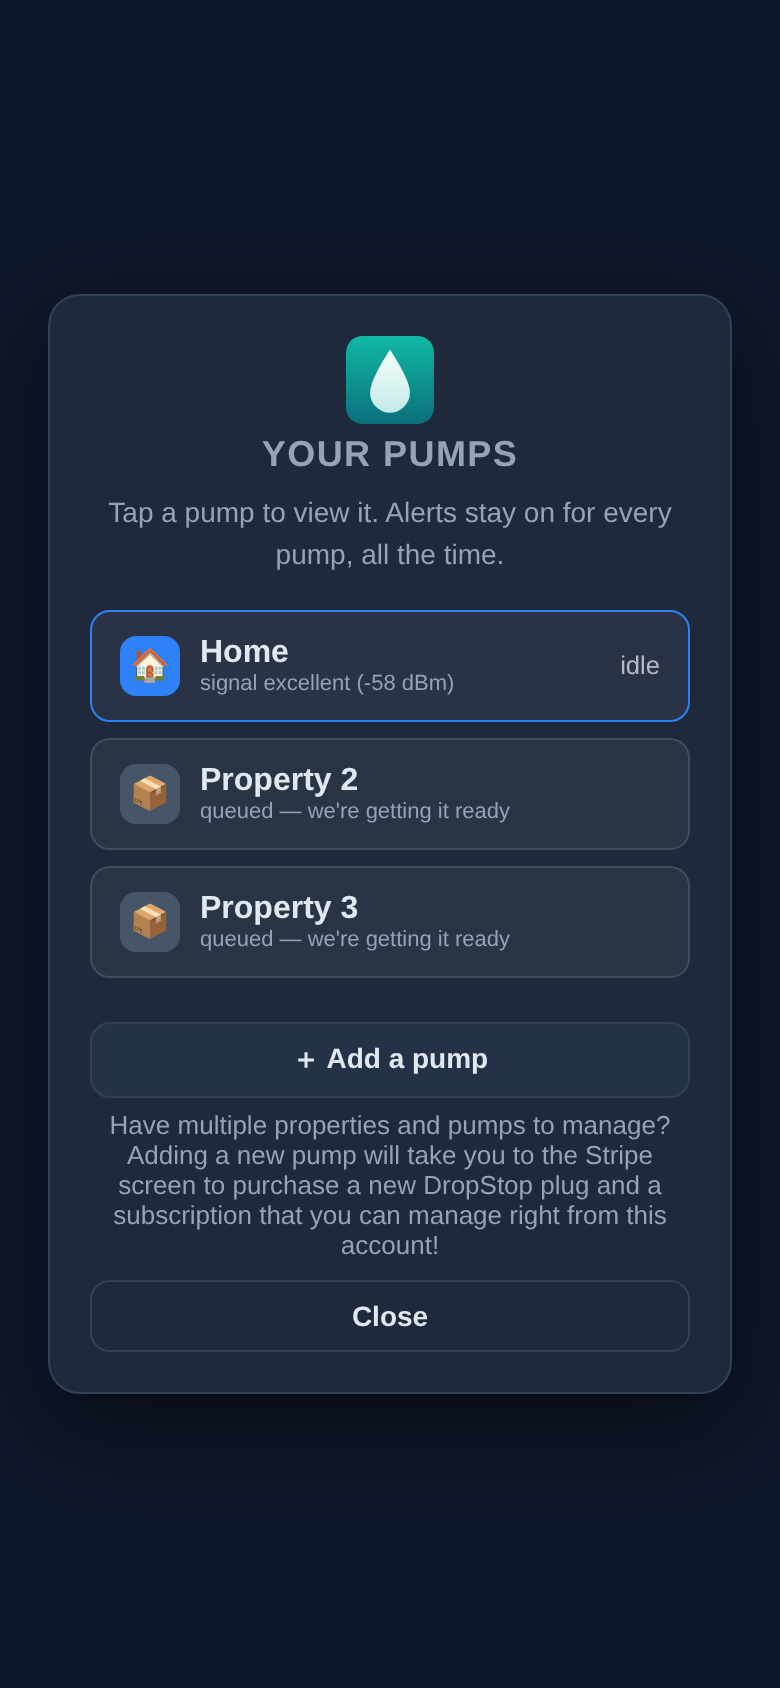
These are real screens from the DropStop app, with example property names. Press Play, or step through with Back and Next.
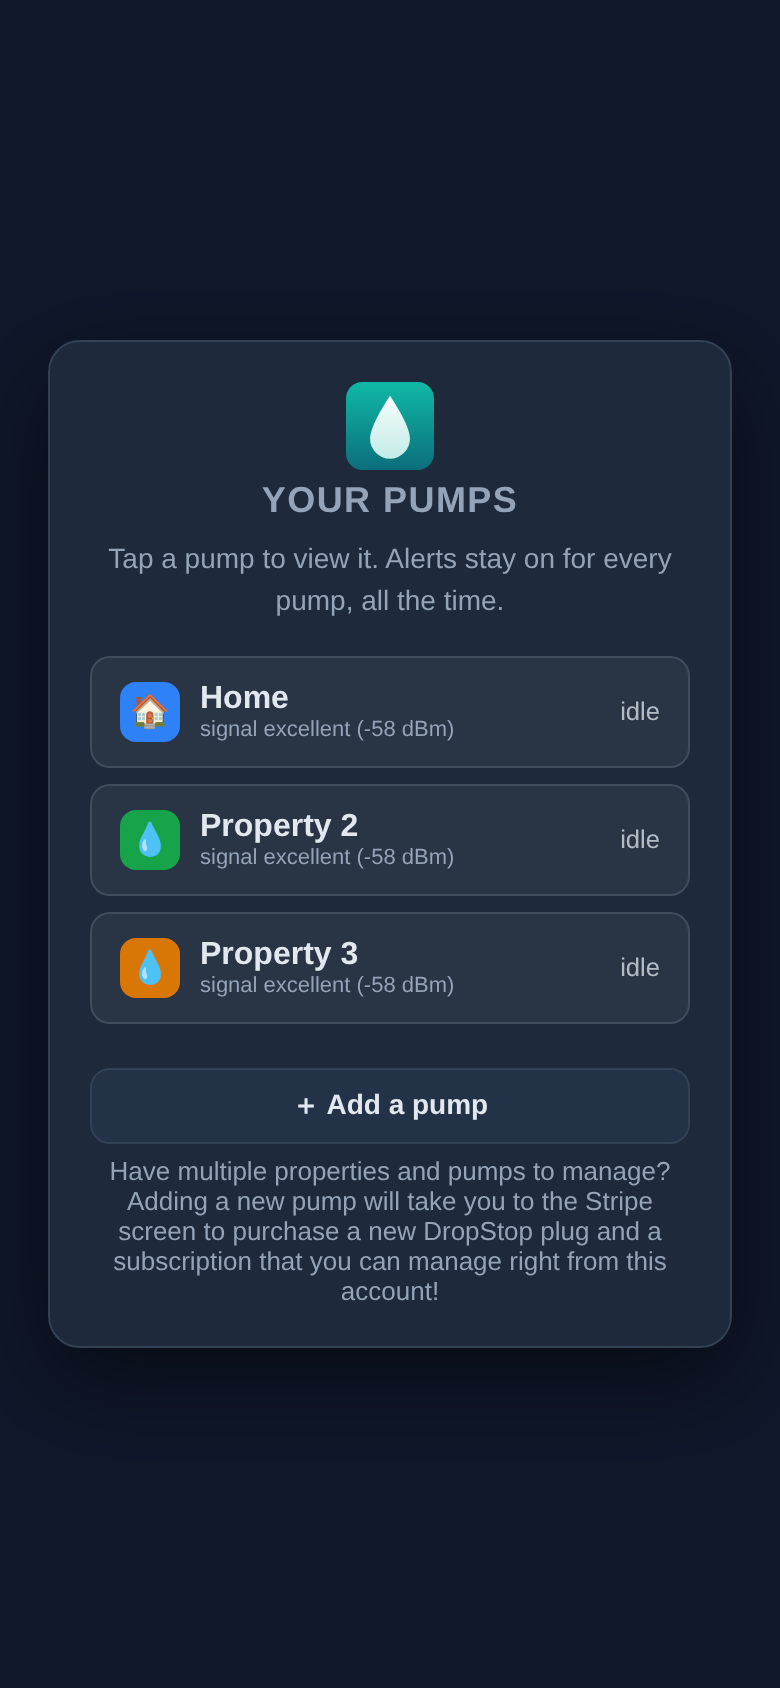
Open Manage pumps
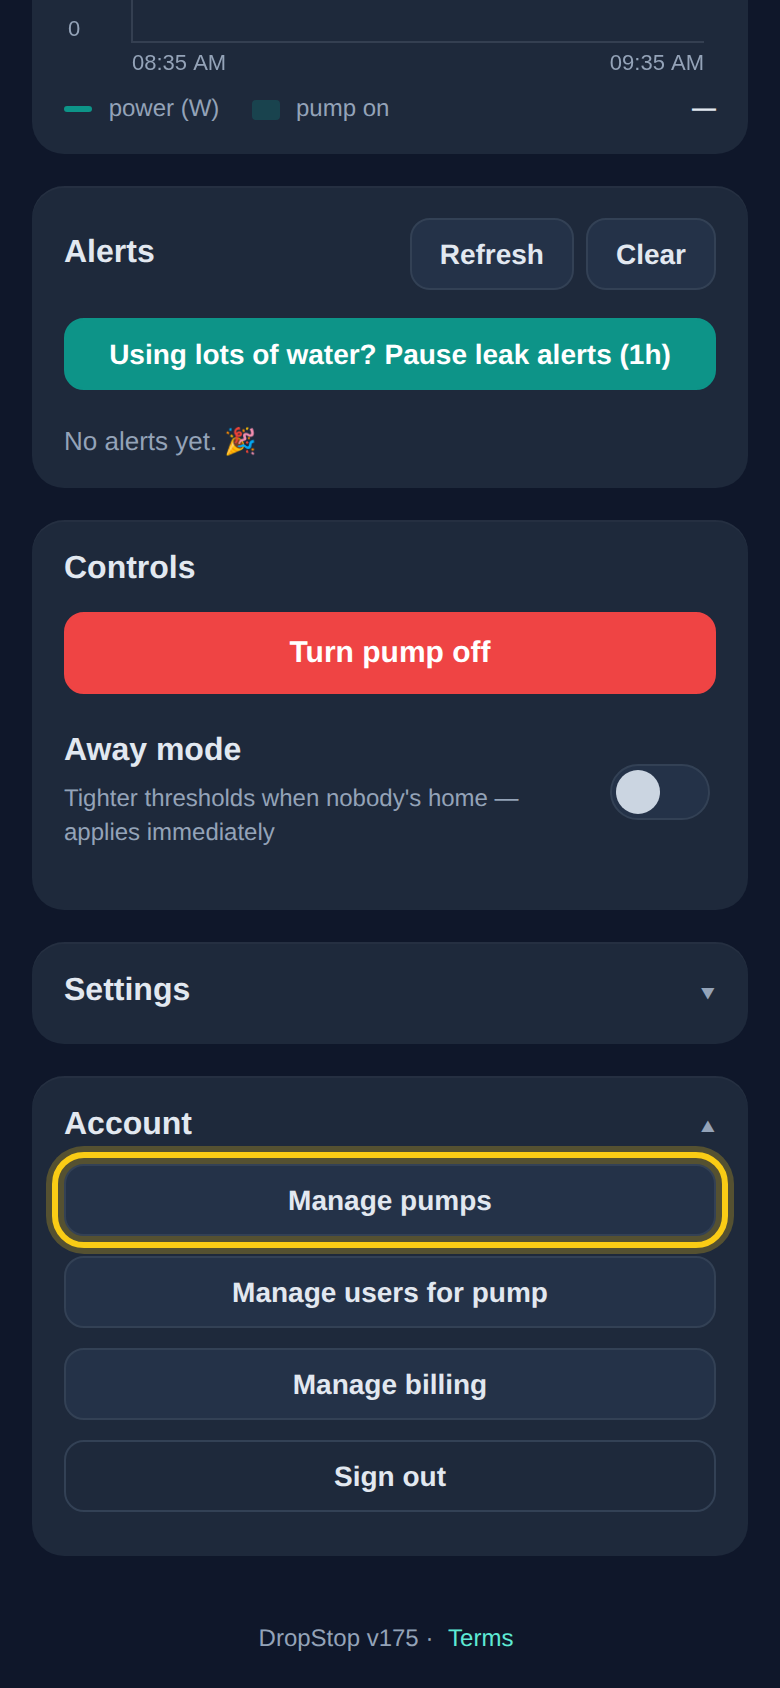
In the DropStop app, scroll to the bottom, open Account and tap Manage pumps.
Before you start
- Have the property's WiFi ready. You need the network name and password for the place the pump is. If it has separate 2.4 GHz and 5 GHz networks, use the 2.4 GHz one.
- Name the pump you already have. Once you have more than one, every alert names the pump it's about. In the app, open Settings, then Plug, type the property into the pump name box and tap Save name.
Step by step
-
1
Open Manage pumps
In the DropStop app, scroll to the bottom, open Account and tap Manage pumps.
-
2
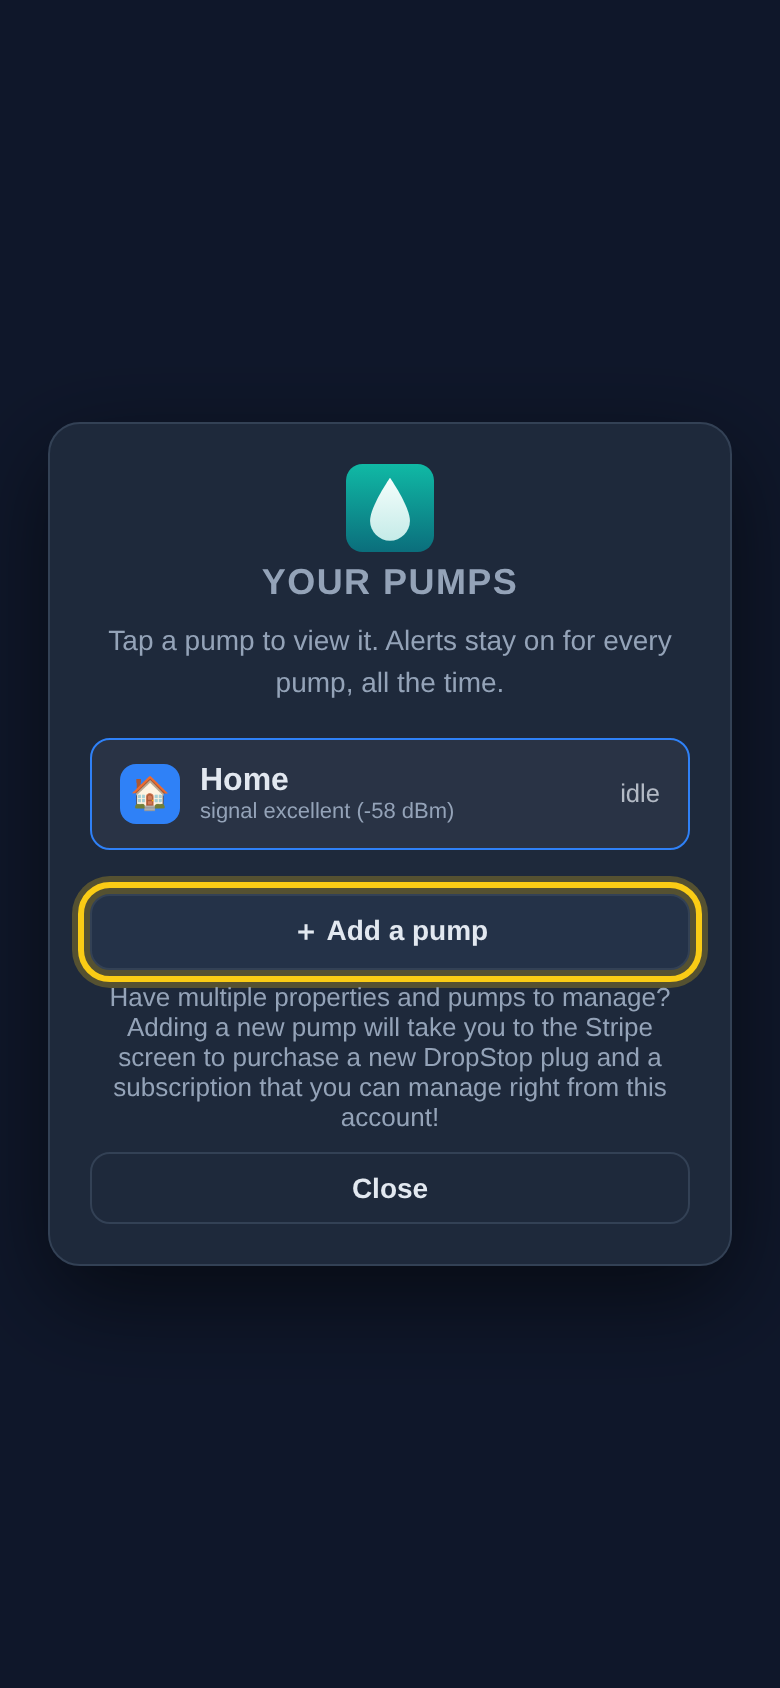
Tap Add a pump
This opens Stripe's secure checkout. Pay for the new plug and enter the address to ship it to. The plug includes its first months of monitoring, and after that each pump is billed at $5 a month on its own.
-
3
Tell us where it's going
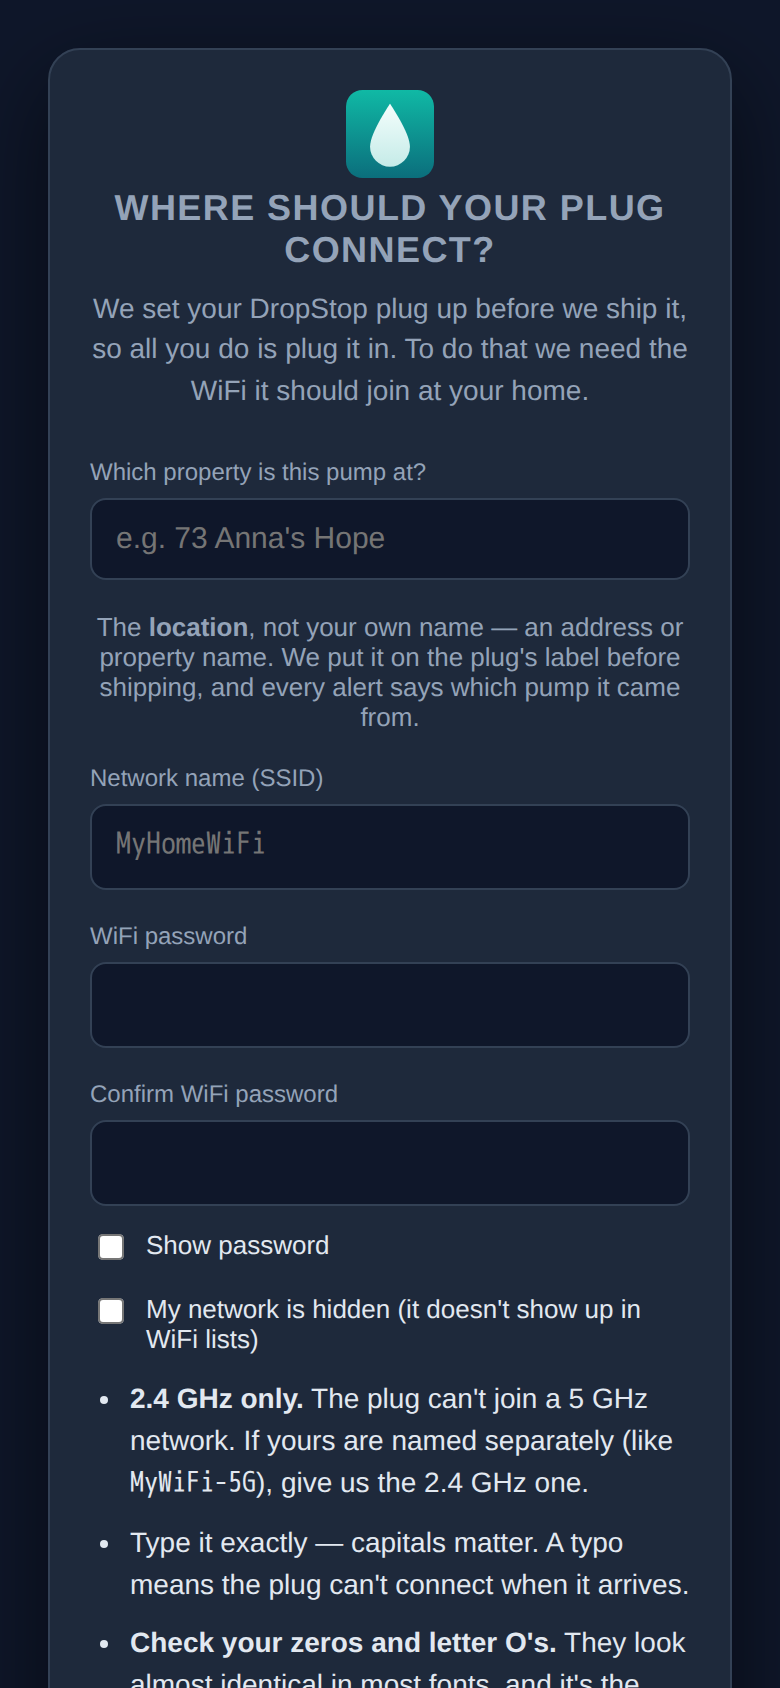
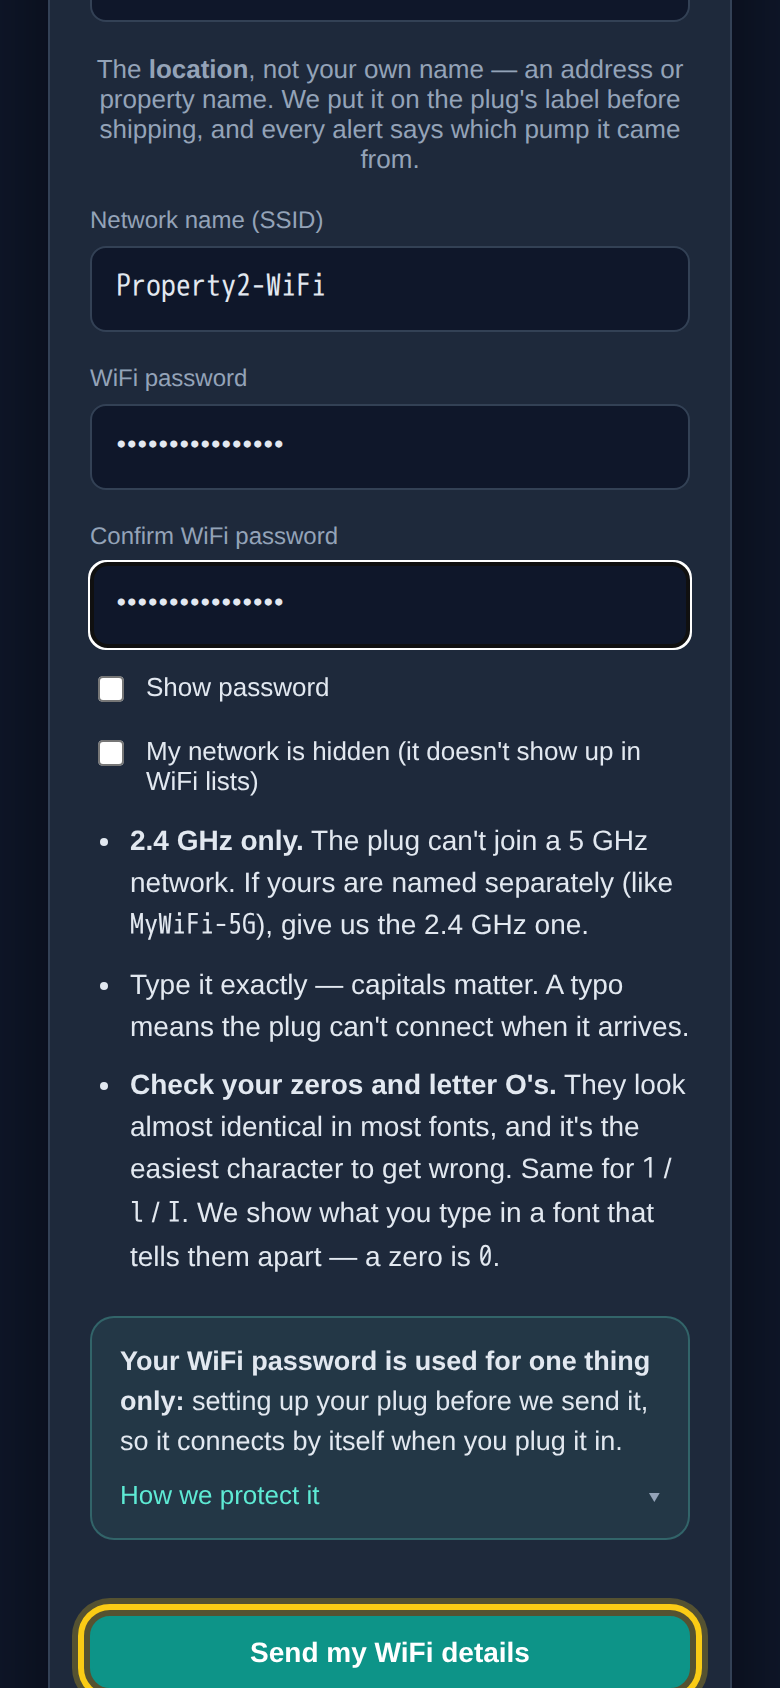
You come straight back to the app and the WiFi form opens by itself. Enter the property name (we print it on the plug's label), then that property's WiFi name and password. Type them exactly, and check zeros against letter O's. Tap Send my WiFi details.
-
4
We build it and ship it
The new pump shows in your pump list as queued, then being built, then in transit.
-
5
Plug it in at the property
Plug the DropStop plug into the wall at the property printed on its label, and plug the pump into it. Within a minute or two it appears in your pump list. Tap the pump name at the top of the screen to switch between properties.
Adding more than one
You don't have to wait for the first one. Each Add a pump is its own purchase and its own plug, and neither waits for the other. Buy the first and send its WiFi, then buy the next and send its WiFi. We build them all and they can ship together.
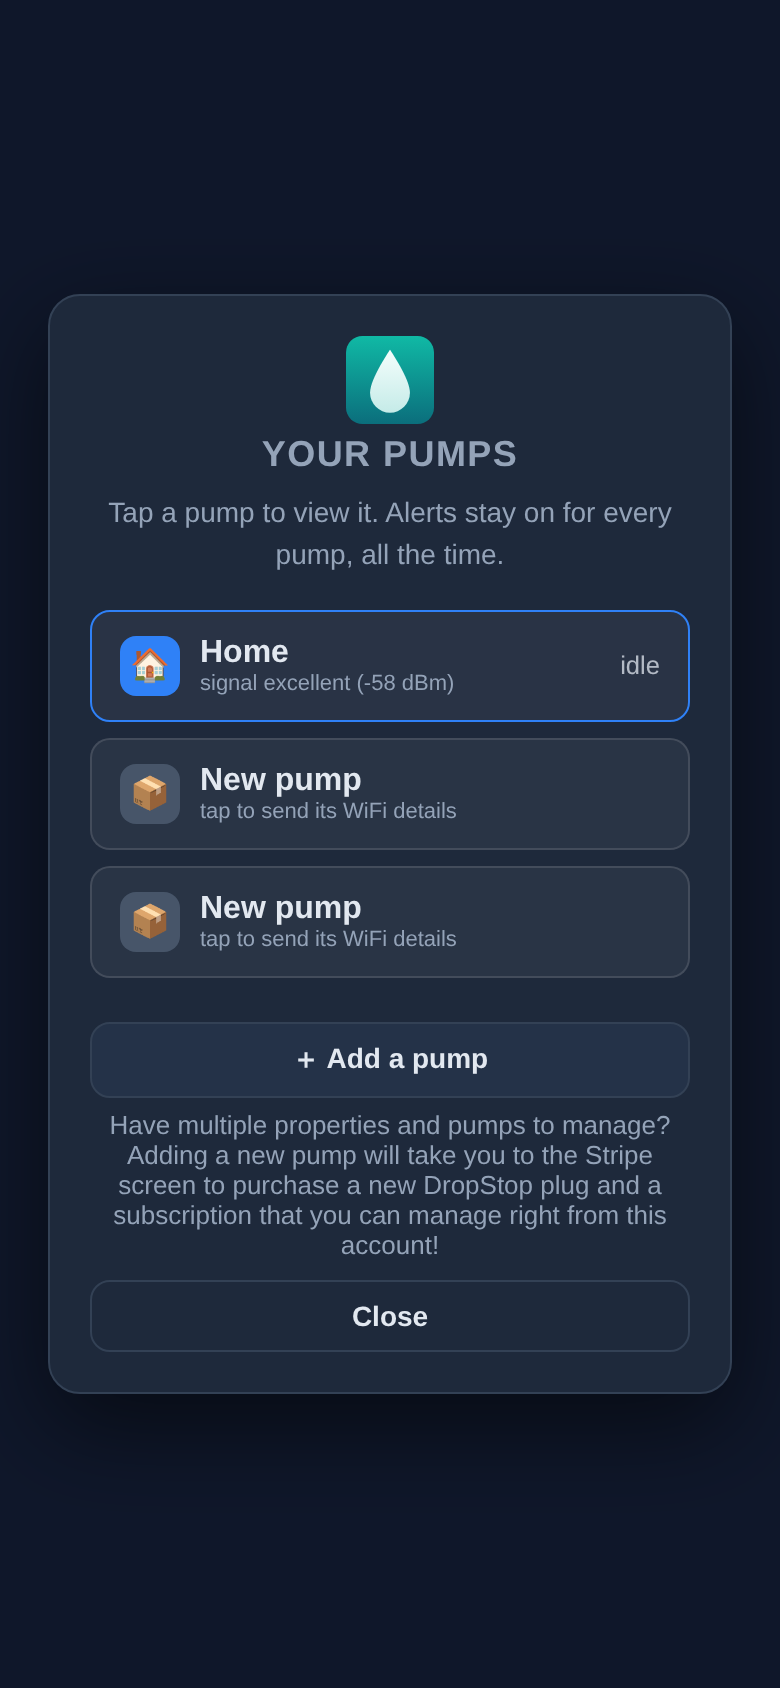
If you pay for several before sending any WiFi details, that's fine too. Each one waits in your pump list as New pump · tap to send its WiFi details. Tap each row and fill in the WiFi for that property.
Each plug is set up for one property's WiFi, so plug each one in where its label says. A plug at the wrong property can't find its network.
Switching between pumps
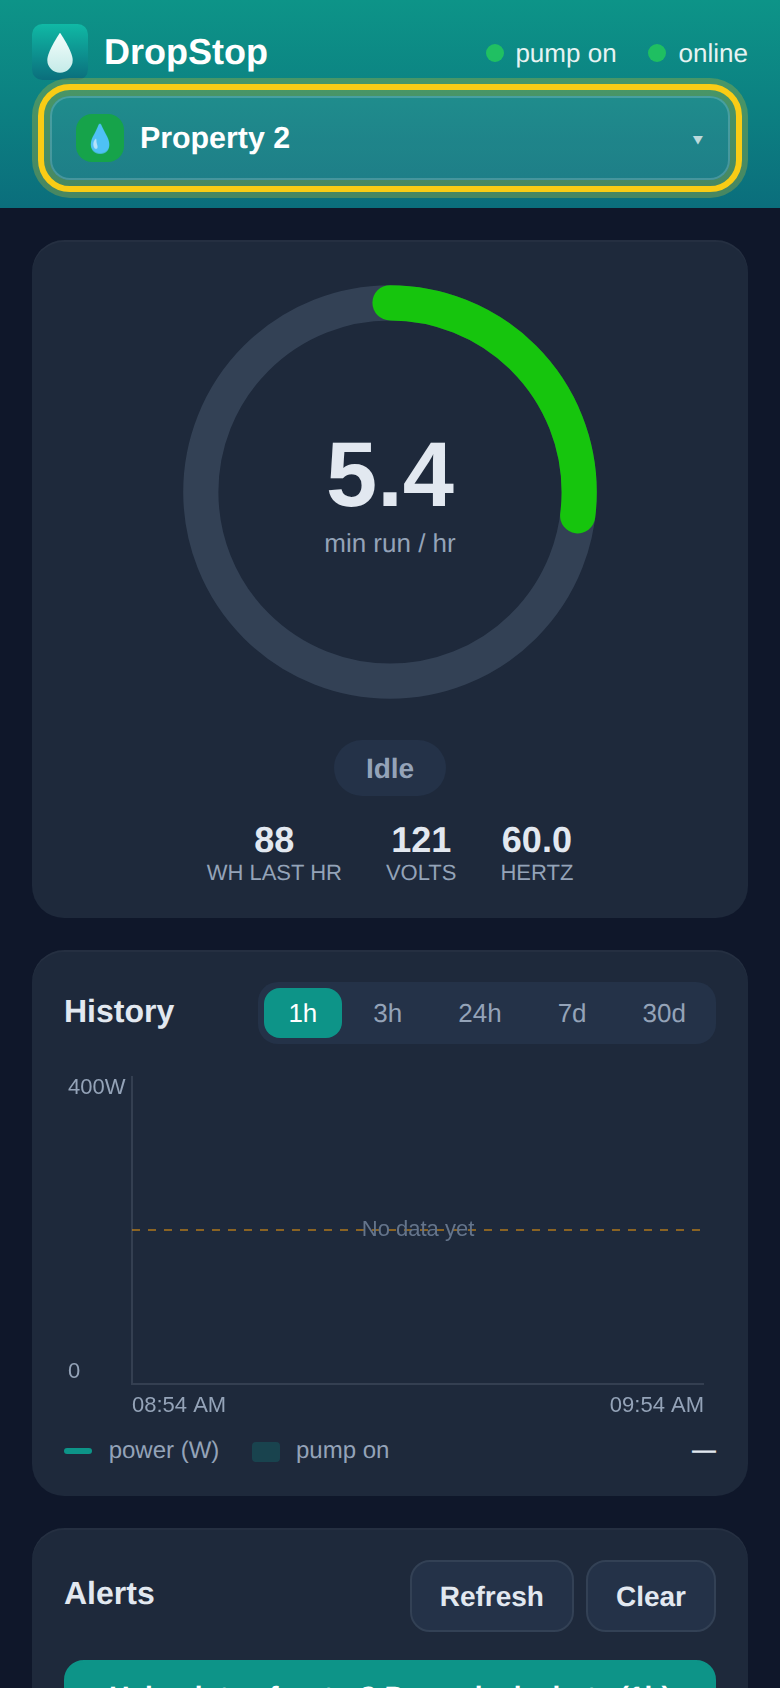
Once you have more than one pump, the name of the pump you're looking at sits at the top of the app. Tap it to see all your pumps at once, with whether each one is idle or running right now, then tap a pump to open its dashboard. The app remembers the last one you looked at.
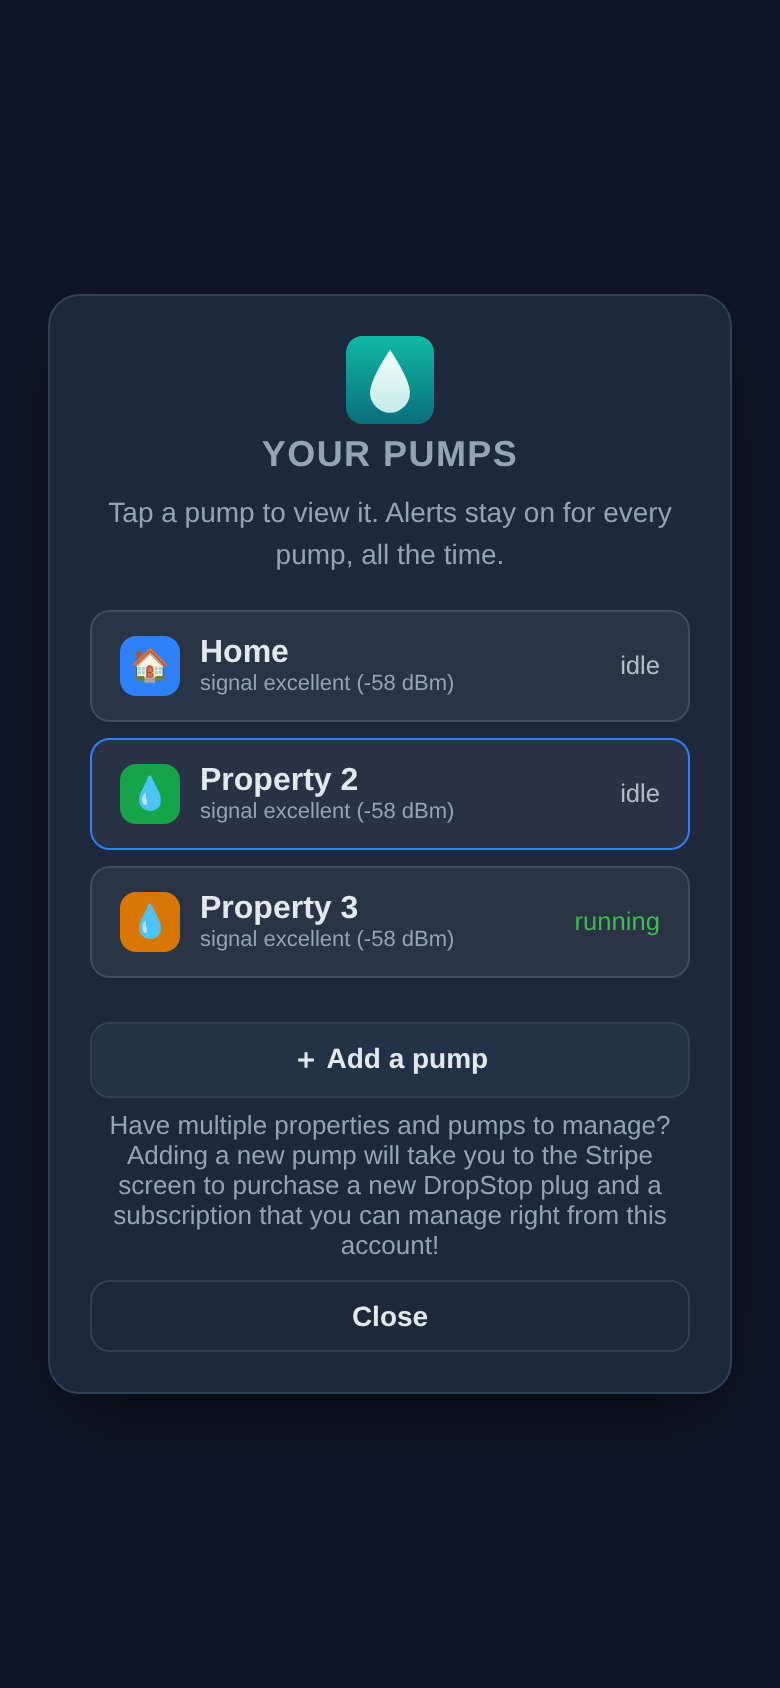
Every pump is watched all the time. Switching only changes which pump the screen shows. Alerts keep coming for all of them, and each alert's title names the pump it's about, so you know which property to check.